How to Set Up a VPN: Step-by-Step Guide
Setting up a VPN takes less than 5 minutes on any device. This guide walks you through every step — from choosing a provider to verifying your connection is working.
Published: March 29, 2026

Setting up a VPN takes less than 5 minutes on any device. This guide walks you through every step — from choosing a provider to verifying your connection is working.
Published: March 29, 2026
The most important setup step happens before you install anything: choosing a reputable VPN provider. For It Protects and How to Use It">on Public WiFi: Why It's Essential in Hong Kong">Hong Kong users, we recommend starting with ExpressVPN (best overall), NordVPN (best value), or Mullvad (best privacy). All three offer 30-day money-back guarantees, meaning you can try them risk-free. Avoid downloading VPN apps from sources other than the official website or your device's official app store — fake VPN apps containing malware are a documented threat.
Visit the VPN provider's official website and create an account. You'll need to choose a subscription plan — annual plans are typically 60–70% cheaper than monthly plans. Payment is typically via credit card, PayPal, or cryptocurrency. After payment, you'll receive confirmation and be directed to the downloads page. Select your operating system to download the correct installer. For mobile devices, you'll be directed to the App Store (iOS) or Google Play Store (Android).
Before downloading on a Windows PC, note the installer file name and size — and cross-reference with the VPN provider's official website to ensure the file matches. This guards against cases where you've accidentally navigated to a fake lookalike site. Legitimate VPN installers for Windows are typically 10–50 MB in size; unusually small installers (under 1 MB) claiming to be VPN apps are a red flag.
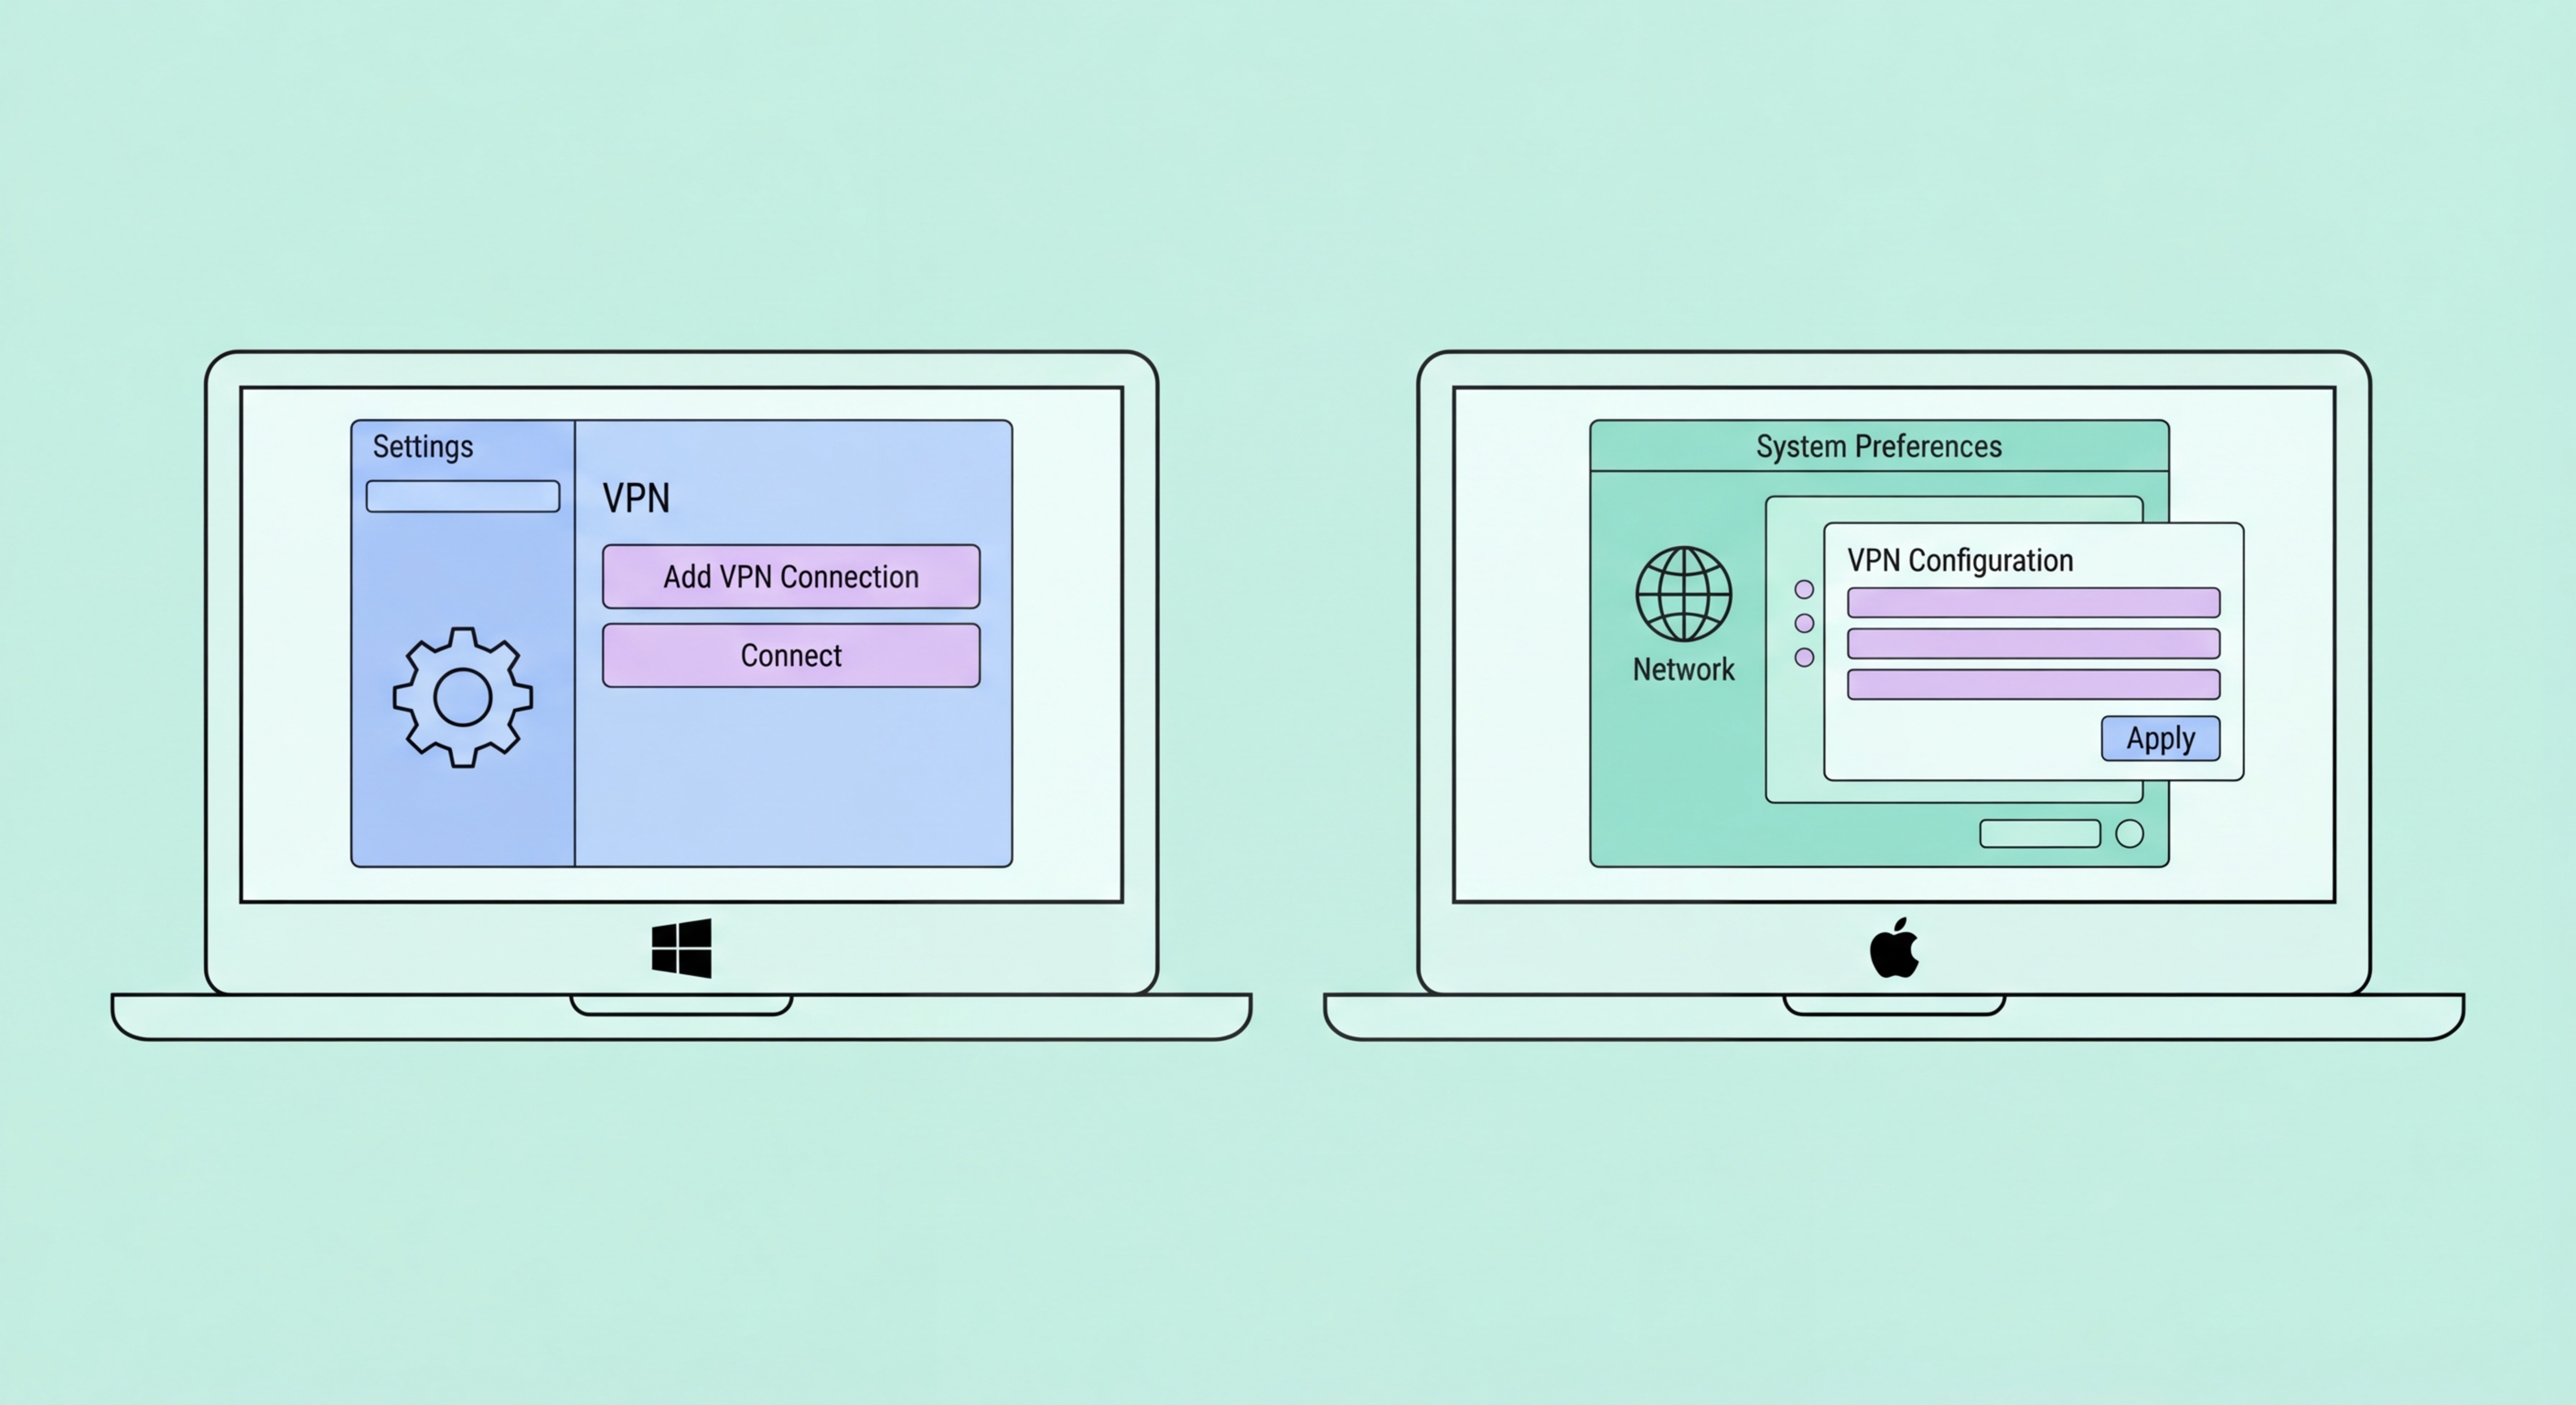
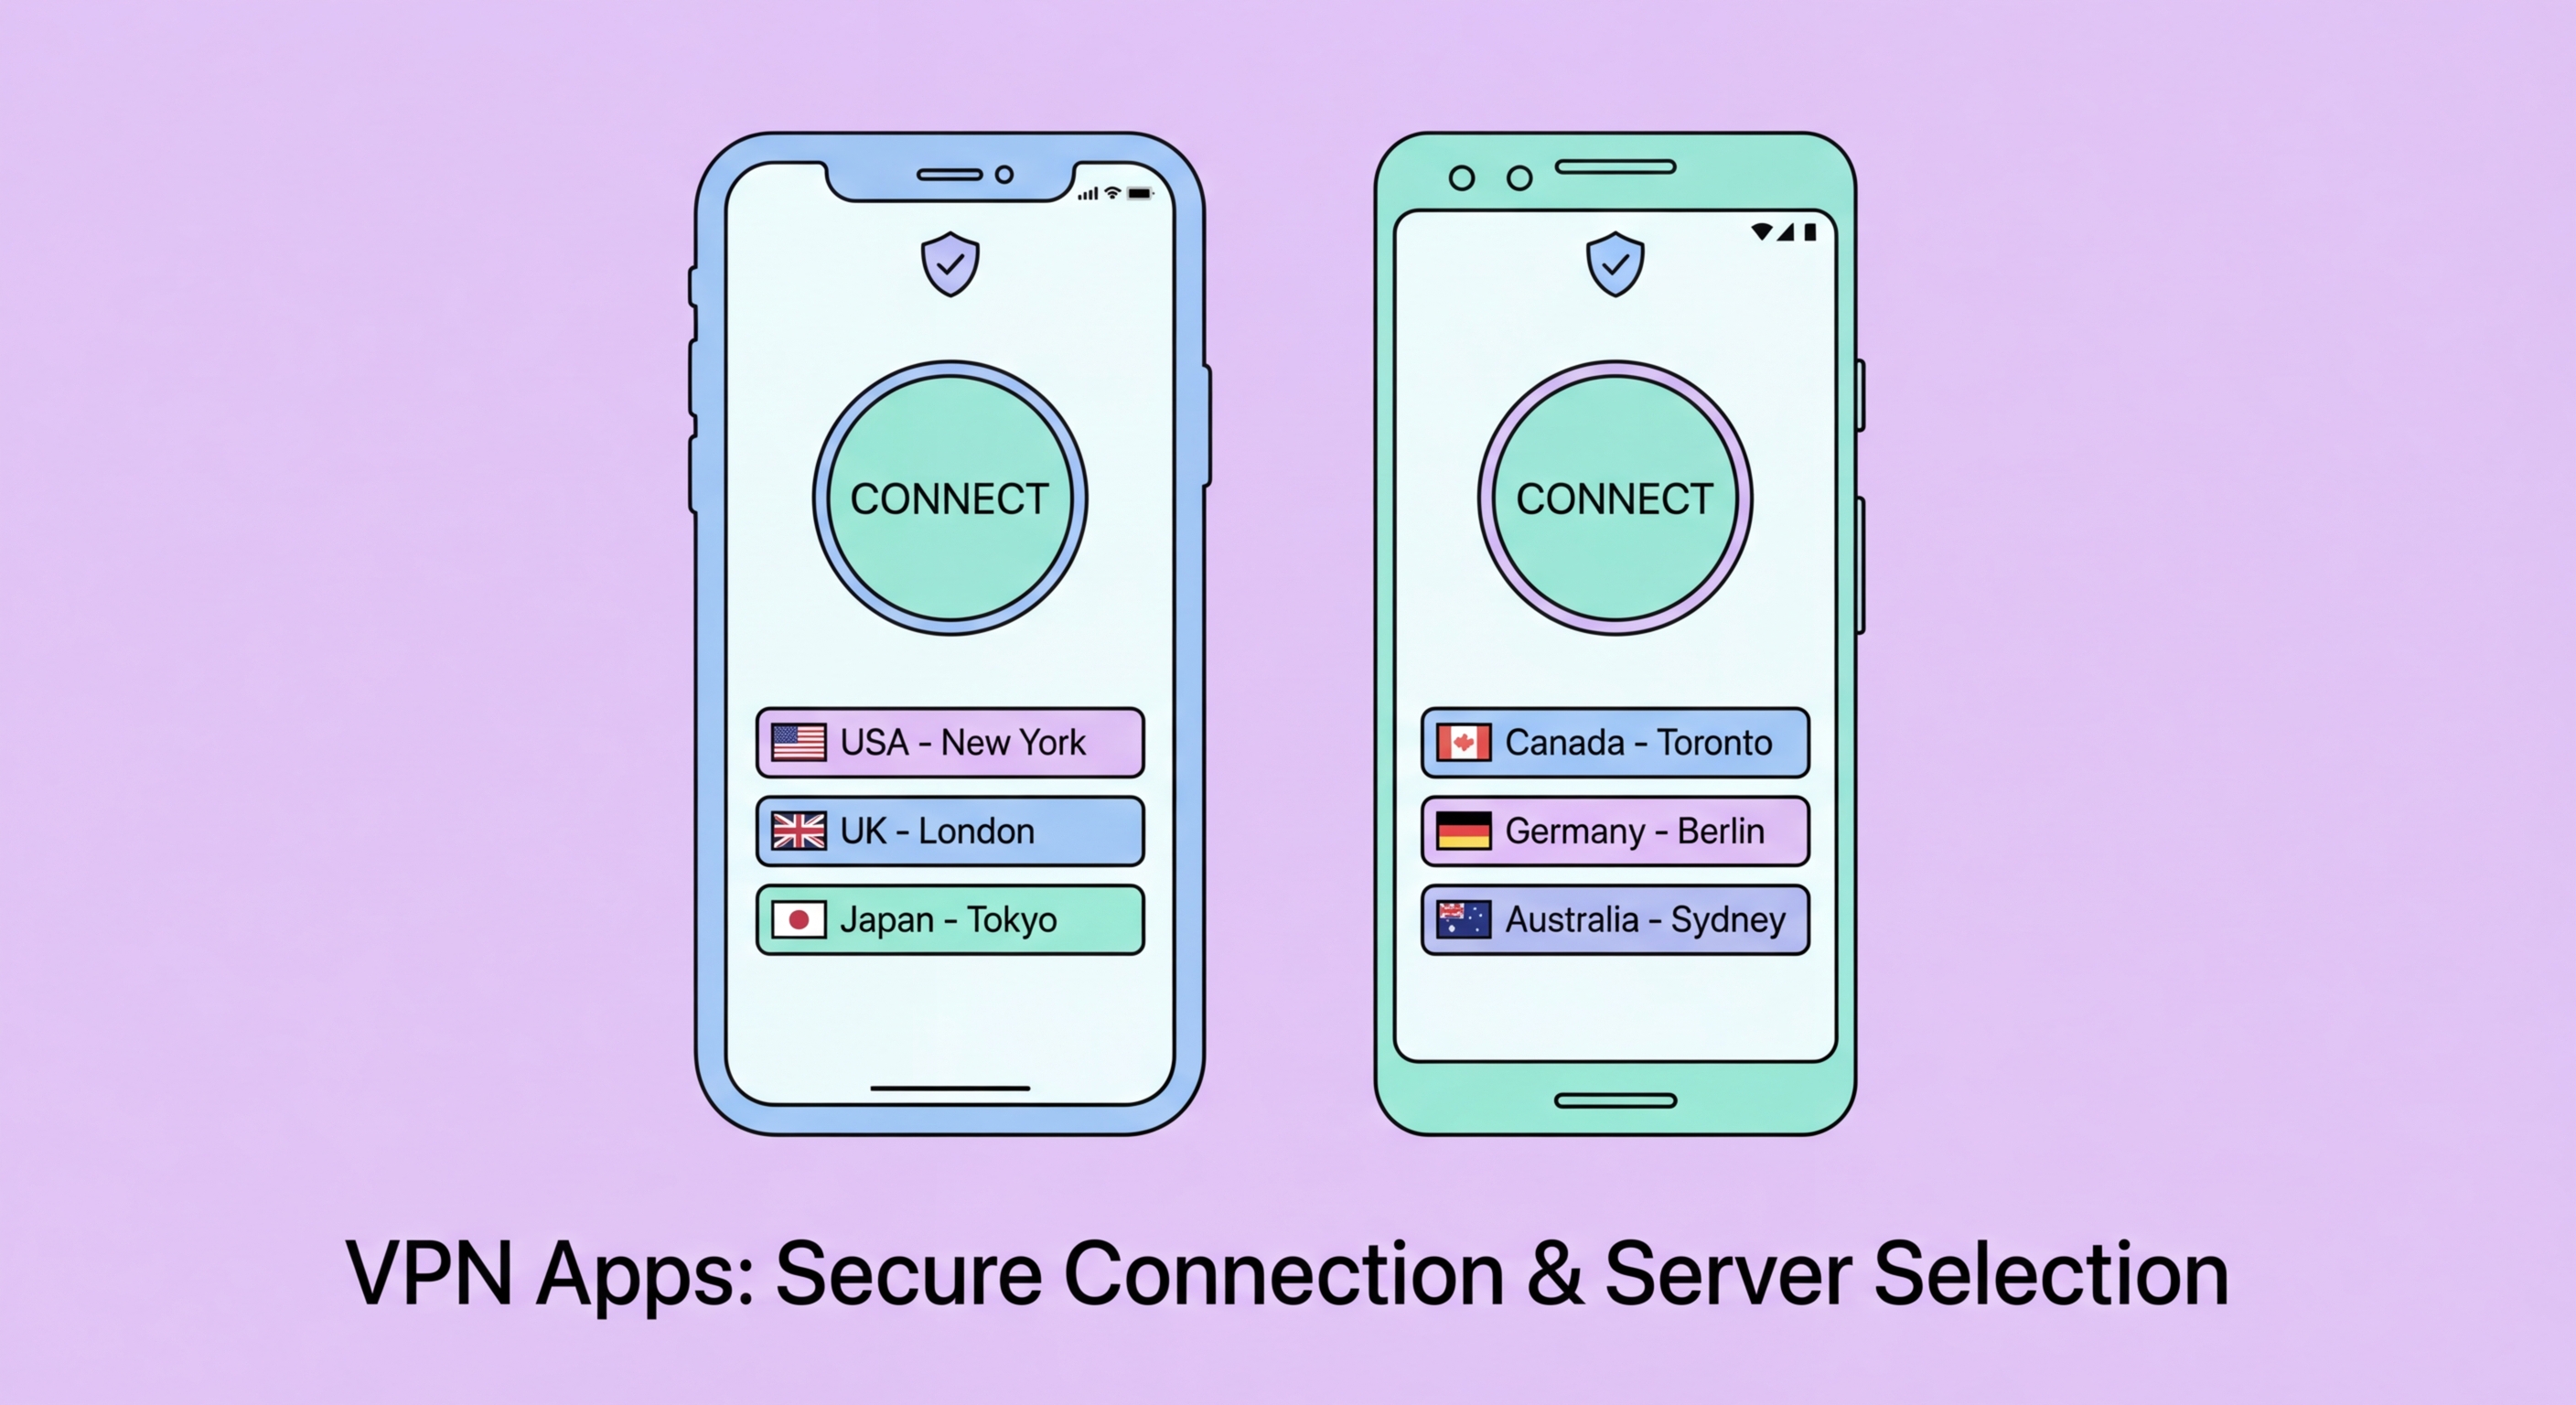
Windows: Double-click the downloaded installer (.exe file). Windows may disp ↗lay a User Account Control prompt asking for administrator permission — click Yes to allow the installation. The installer will run automatically, typically taking 1–2 minutes. Once complete, the VPN app launches automatically and prompts you to log in with your subscription credentials. After logging in, the app displays a map interface or server list. For your first connection, click the large "Connect" button — the app will automatically select the best server for your location. To change servers, click the location/server name and browse or search the list.
macOS: Open the downloaded .dmg file and drag the VPN application to your Applications folder. Double-click to open. macOS will prompt for administrator password to grant the VPN necessary network permissions — this is normal and required for VPN operation. The app installs a VPN network extension that macOS displays in System Settings > Network. After logging in, the interface is nearly identical to Windows. For macOS Ventura and later, you may see an additional security prompt when the VPN extension is first activated — approve it in System Settings > Privacy & Security.
After connecting on either platform, verify the Difference and the Connection">the connection worked by checking the VPN app shows "Connected" status with a green indicator. For additional verification, visit whatismyipaddress.com — the IP address shown should match the VPN server location, not your real Hong Kong IP address. Run a DNS leak test at dnsleaktest.com to confirm DNS queries are routing through the VPN.
iPhone/iPad (iOS): Search for your VPN provider by name in the App Store and download the official app. Open the app and log in with your credentials. When you first tap Connect, iOS disp ↗lays a system prompt: "VPN would like to add VPN configurations to your iPhone" — tap Allow. This grants the VPN app permission to create a VPN profile in your iOS settings (Settings > VPN). The VPN will appear in your status bar as "VPN" when active. You can also toggle the VPN connection directly from Settings > VPN without opening the app.
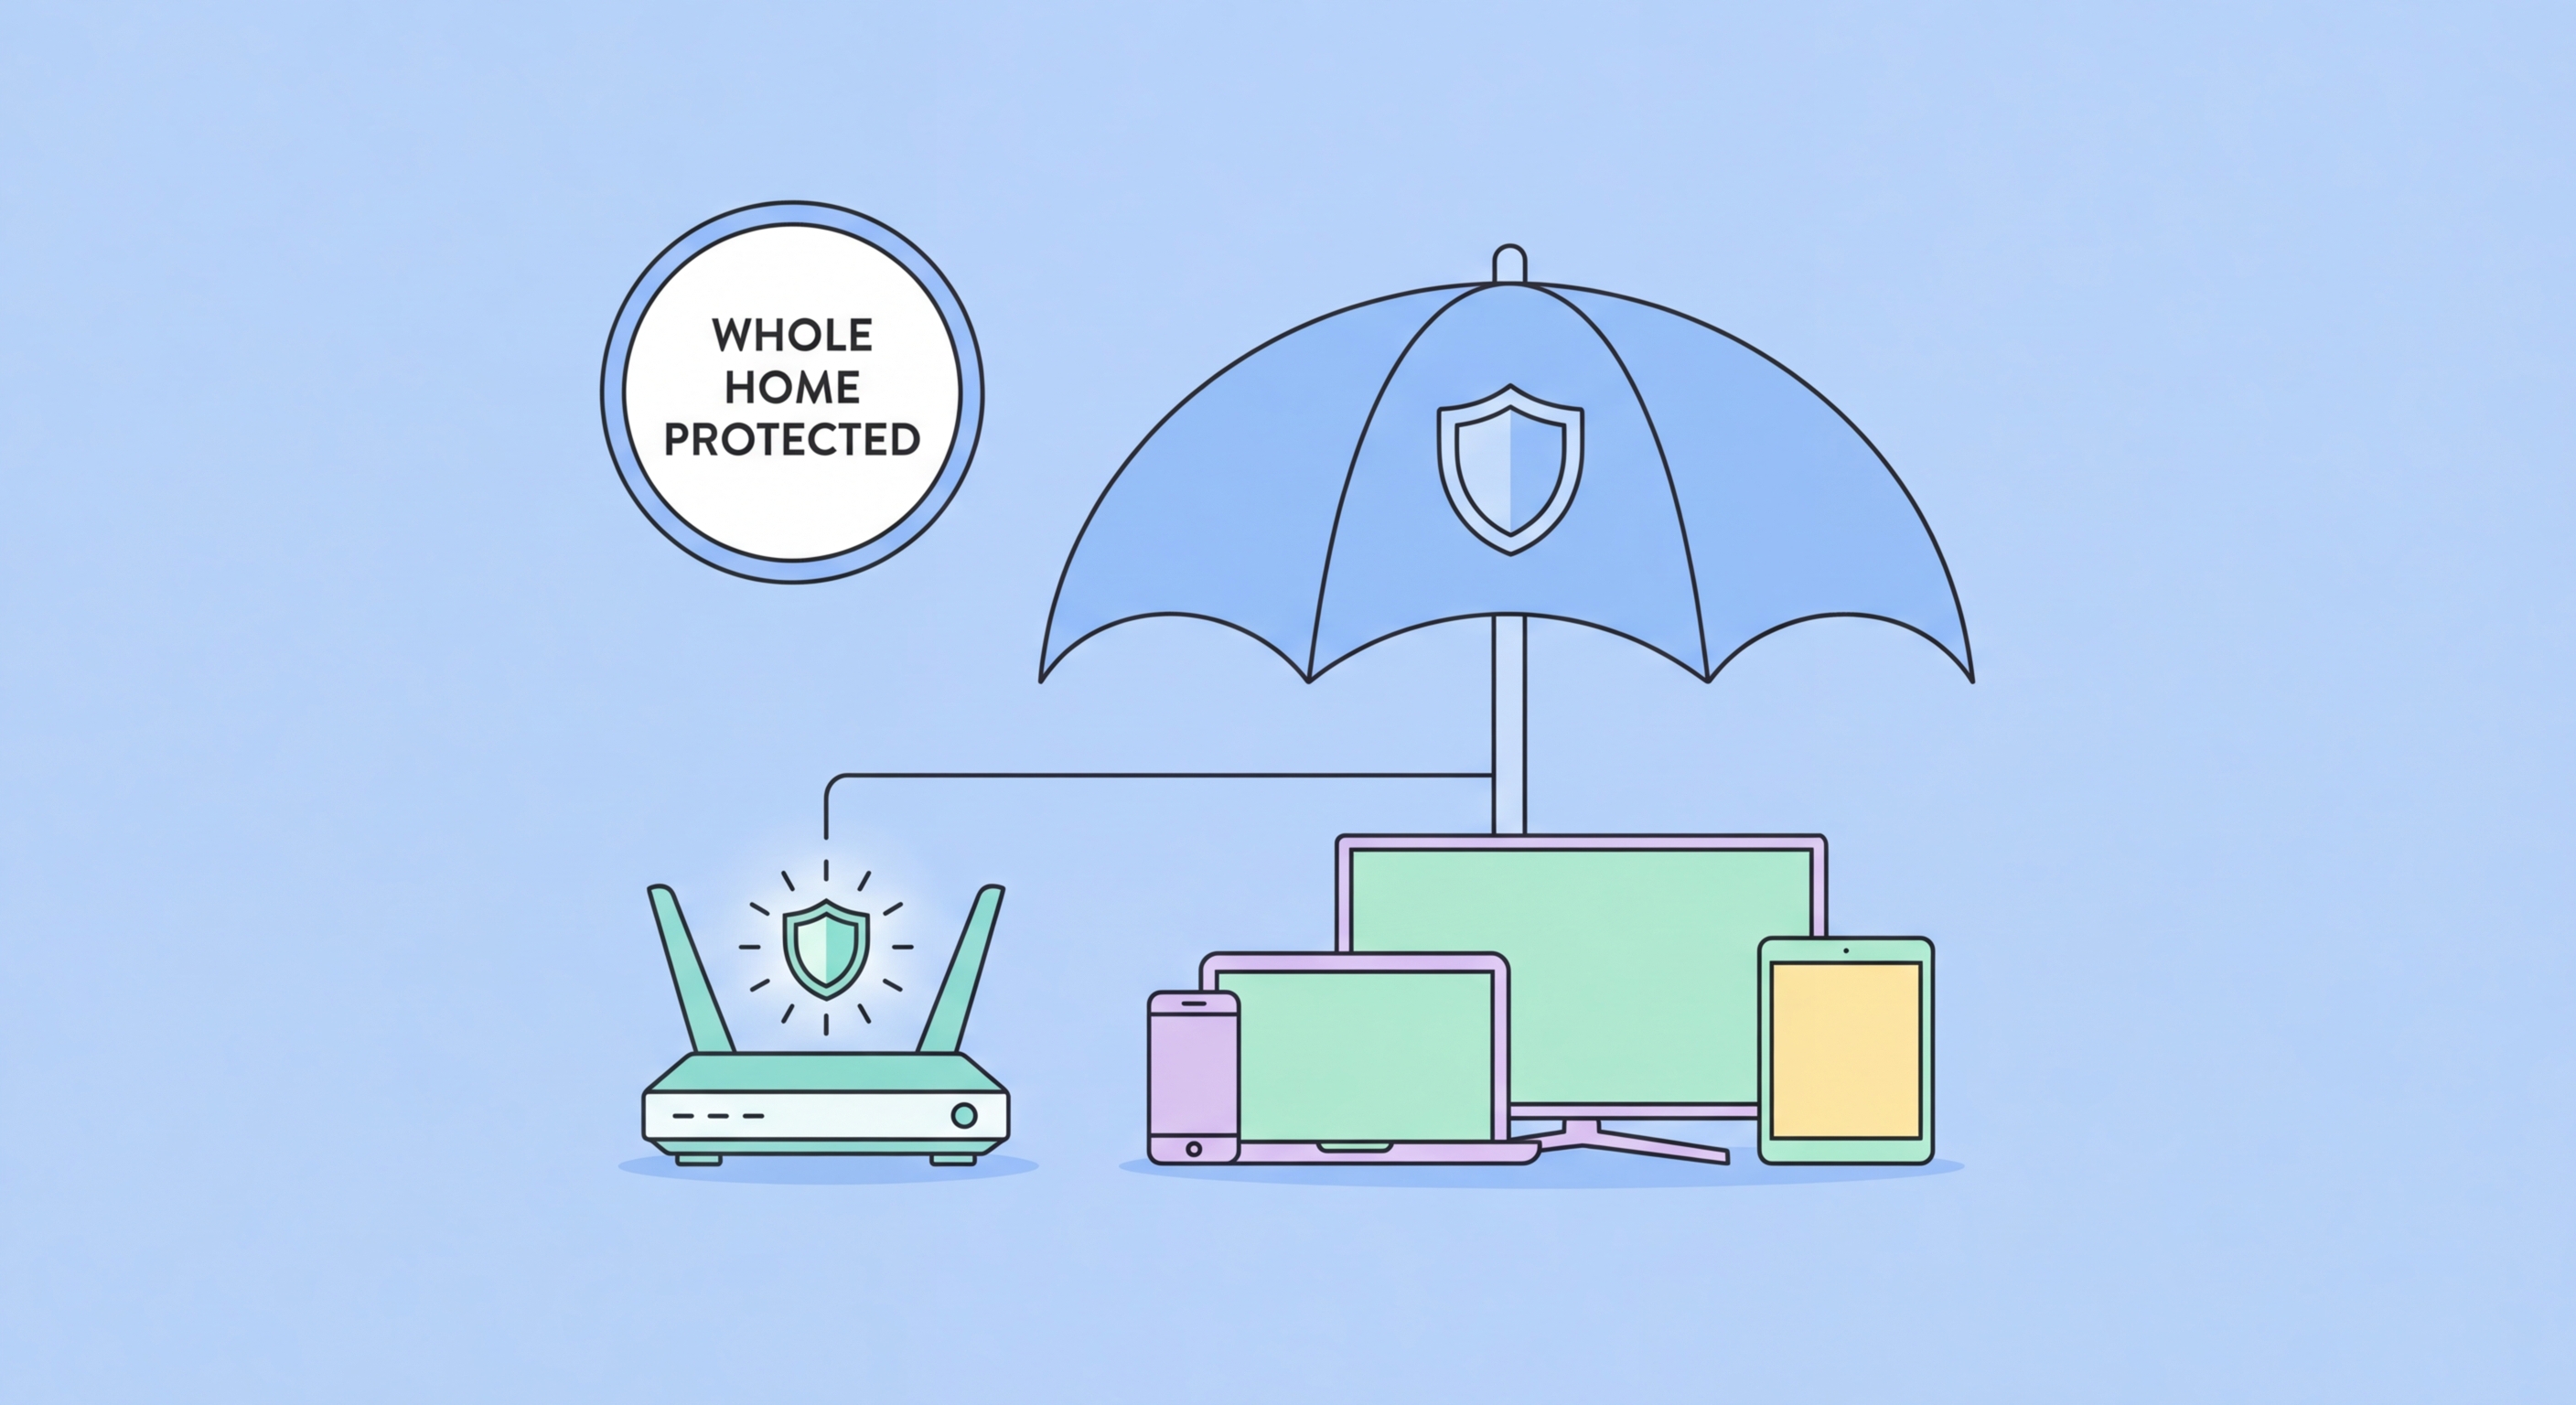
Android: Install the VPN app from Google Play Store. When you first connect, Android displays a system prompt granting VPN permissions — tap OK. Unlike iOS, Android allows greater customisation: you can enable "Always-On VPN" and "Block connections without VPN" (kill switch) directly in Android Settings > Network > VPN settings, providing system-level control independent of the VPN app's own settings. This system-level kill switch is more reliable than app-level implementations.
For both platforms, enable the kill switch within the VPN app settings (usually labelled "Kill Switch," "Network Lock," or "Block internet when VPN disconnects"). On mobile specifically, also enable "Auto-reconnect" — mobile connections frequently switch between WiFi and 4G/5G, and auto-reconnect ensures the VPN re-establishes immediately after any network transition. IKEv2 protocol handles mobile network transitions most gracefully; if your VPN app offers protocol selection, try IKEv2 or WireGuard for mobile use.
After setup, run a systematic verification before using your VPN for anything sensitive. The three key tests are: IP leak test (confirm your VPN server's IP is shown, not your real HK IP), DNS leak test (confirm DNS queries route through VPN, not your ISP), and a WebRTC leak test (confirm your browser isn't leaking your real IP through WebRTC — test at browserleaks.com/webrtc). Only if all three pass is your VPN properly protecting your traffic.
Common setup problems and their solutions: If the VPN app shows "Connected" but your IP doesn't change, the kill switch may be blocking traffic — try toggling the kill switch off and reconnecting. If connection attempts time out, try switching from UDP to TCP protocol (Settings > Protocol in most VPN apps) — TCP is more reliable on restrictive networks and corporate firewalls. If a streaming service displays a "proxy detected" error, try a different server in the same country — most providers have dedicated streaming servers.
Performance troubleshooting: if speeds are slower than expected, switch to WireGuard protocol ↗ (fastest), try a server with lower load (shown in the app), or try a server geographically closer to your actual location rather than the destination's server. On Windows, disabling IPv6 in your network adapter settings can eliminate IPv6 leak issues and improve VPN compatibility. If the VPN disconnects frequently, check if your power management settings are putting the network adapter to sleep — disable "Allow this device to wake the computer" for the adapter in Device Manager.